Info Windows
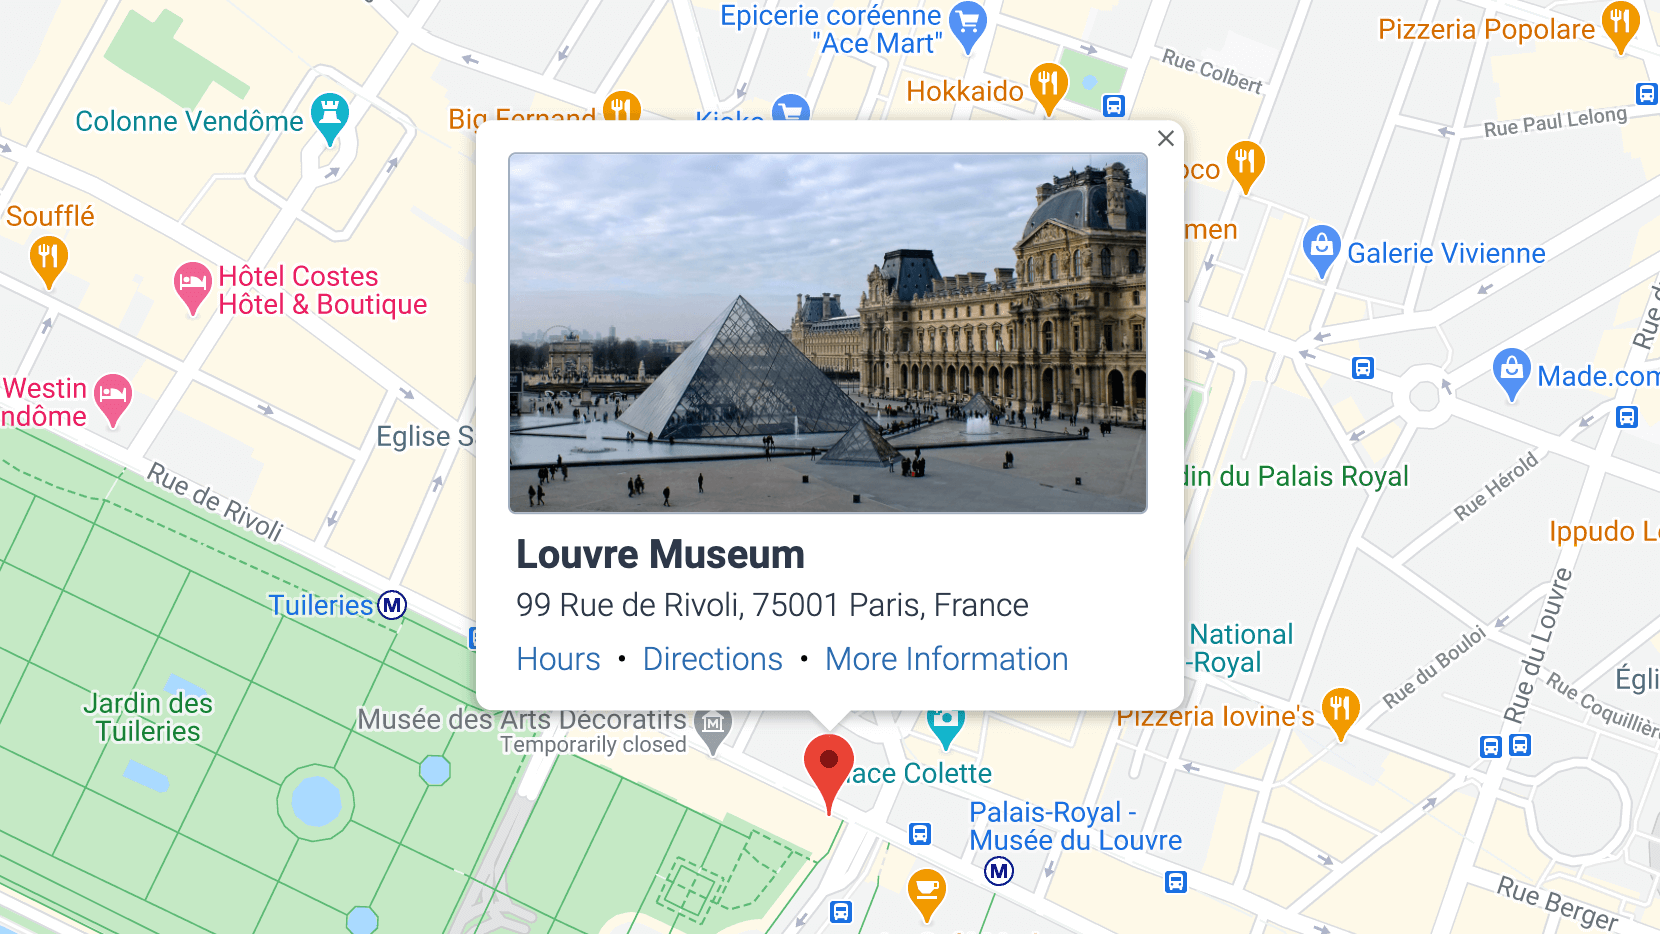
An info window (opens new window) is the formal name for the bubble that pops up when you click on a marker...

In order to add info windows to your markers you'll want to specify an infoWindowTemplate value. This template can be applied via either of the map or markers parameters.
{% set options = {
    'infoWindowTemplate': 'example/my-info-window'
} %}

{% set map = googleMaps.map(locations, options) %}
The Twig template can live anywhere you want within your templates folder.
# Twig Template Example
The following snippet produced the screenshot shown above (using Tailwind CSS):
{# Get the entry's thumbnail image #}
{% set image = entry.thumbnail.one() %}
{# This example uses Tailwind CSS #}
<div class="pl-1 pt-1">
{# Show thumbnail if it exists #}
{% if image %}
<img
alt="Thumbnail image"
src="{{ image.url }}"
style="max-width:320px"
class="rounded border border-gray-500"
>
{% endif %}
{# Show entry and address information #}
<div class="px-1 pb-1">
<div class="pt-2 text-gray-800 text-xl font-bold">{{ entry.title }}</div>
<div class="pt-1 text-gray-800 text-base">{{ address }}</div>
<div class="pt-2 text-base">
<a class="text-blue-700" href="{{ entry.url }}#hours">Hours</a>
•
<a class="text-blue-700" href="{{ address.linkToDirections() }}">Directions</a>
•
<a class="text-blue-700" href="{{ entry.url }}#info">More Information</a>
</div>
</div>
</div>
Within the context of an info window Twig template, a few magic variables will already be set. Depending on which type of value you provided for the locations parameter, some of these variables may or may not be available to you.
For example, if you specify locations as a simple set of coordinates, you will only have access to those coordinates and the map ID. But if you specify a full element, you will have access to every available variable within an info window.
# Available Variables
Depending on the context of the marker, certain variables will (or won't) be automatically available in your info window template. It depends entirely on what type of entity created the marker. The marker could have been created by any of the following types of entities:
- A normal Entry (or any other Element Type)
- An Address Model
- A Visitor Model
- A simple set of coordinates
Keep reading to see which variable are available in which contexts.
# Variables for All Info Windows
The following variables will be automatically available to all info windows...
| Variable | Description |
|---|---|
mapId | ID of the map which contains this marker. |
coords | Coordinates of this particular marker. |
# Variables for Element-based Info Windows
If the map markers were generated from complete elements, the following variables will also be available...
| Variable | Description |
|---|---|
markerId | ID of the marker being placed onto the map. |
element | The full element responsible for creating the marker. |
address | An Address Model derived from the element's Address Field. |
Additional Element Type Variables
For each element type, the element variable will automatically be aliased for that particular element type.
    element === entry  {# If marker is an Entry #}
    element === asset  {# If marker is an Asset #}
    element === user   {# If marker is a User #}

    ... and so on
This applies to all element types, including 3rd-party element types.
# Variables for Visitor-based Info Windows
If the marker was based on a geolocated visitor, there will be one final variable...
| Variable | Description |
|---|---|
visitor | A Visitor Model derived from a Visitor Geolocation process. |
# Additional Variables via infoWindowData
In addition to the dynamic variables listed above, you can provide custom data to an info window using the infoWindowData option.
This data will be passed along to the info window template.
{% do map.markers(entry, {
    'infoWindowTemplate': 'example/my-info-window',
    'infoWindowData': {
        'twigVariableOne': firstValue,
        'twigVariableTwo': secondValue
    }
}) %}
# Separate markers for unique info window data
Typically, you can generate a batch of markers which all share the same infoWindowTemplate. Despite sharing the same template, the automatic variables will be unique for each marker.
However, if you're using infoWindowData, you may find it more convenient to create each marker individually (with markers), so that you may pass unique infoWindowData for each marker.
{# Create each marker (and info window) individually #}
{% for entry in entries %}

    {# Add marker with unique info window data #}
    {% do map.markers(entry, {
        'infoWindowTemplate': 'example/my-info-window',
        'infoWindowData': {
            'twigVariableOne': firstValue,
            'twigVariableTwo': secondValue
        }
    }) %}

{% endfor %}
# Info Window Template Errors
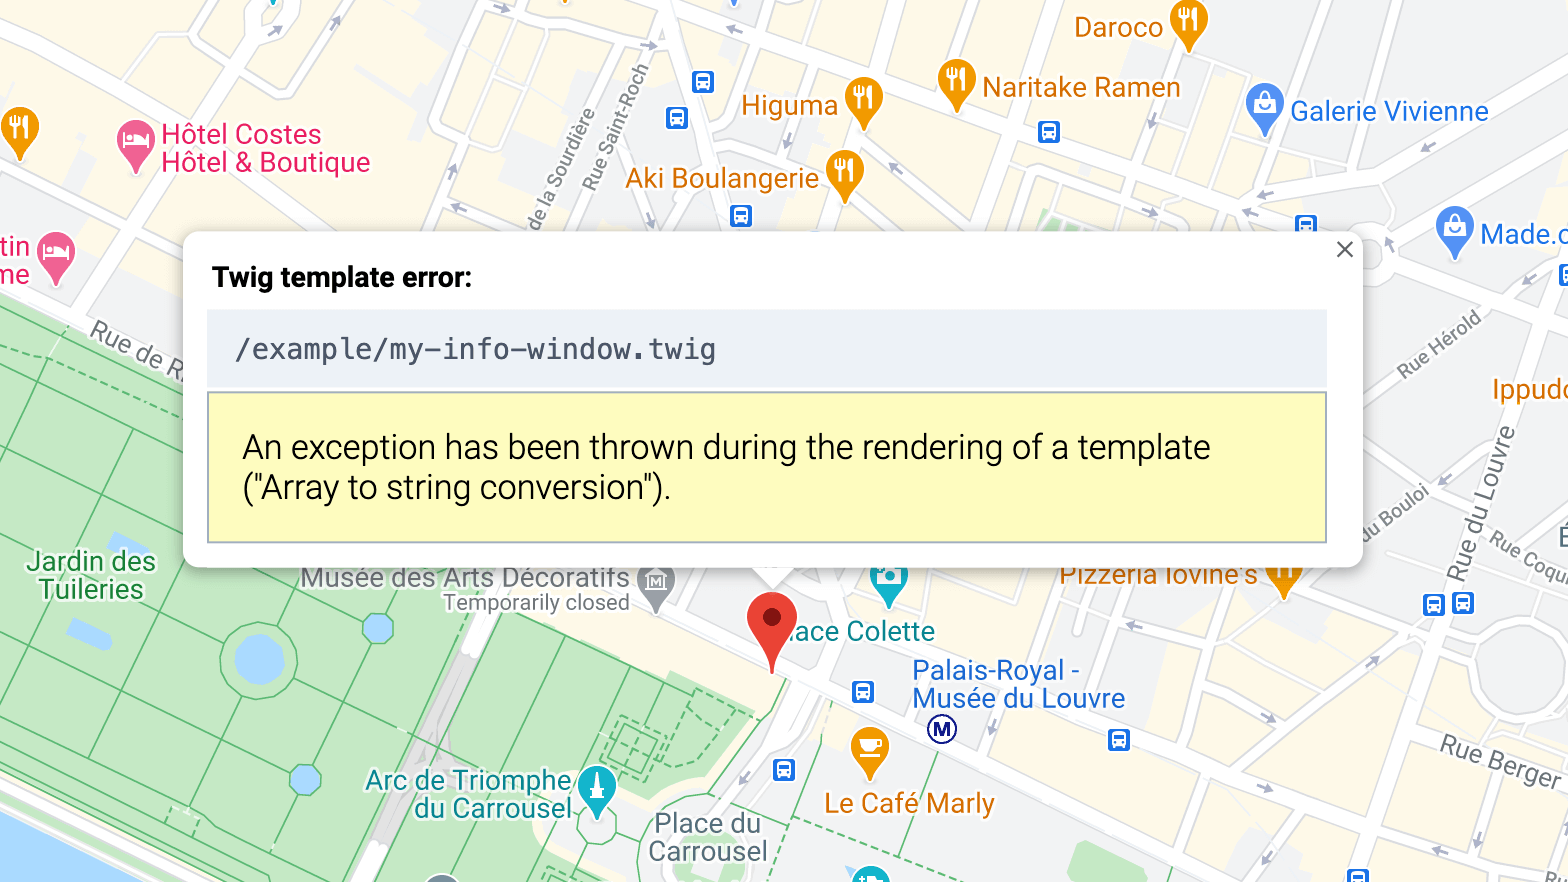
In the event of an error in your Twig code, an error message will be thrown. The message will be contained within the info window itself, in order to streamline debugging.

The info window will display the template path, alongside the error message being returned.