Clustering Markers

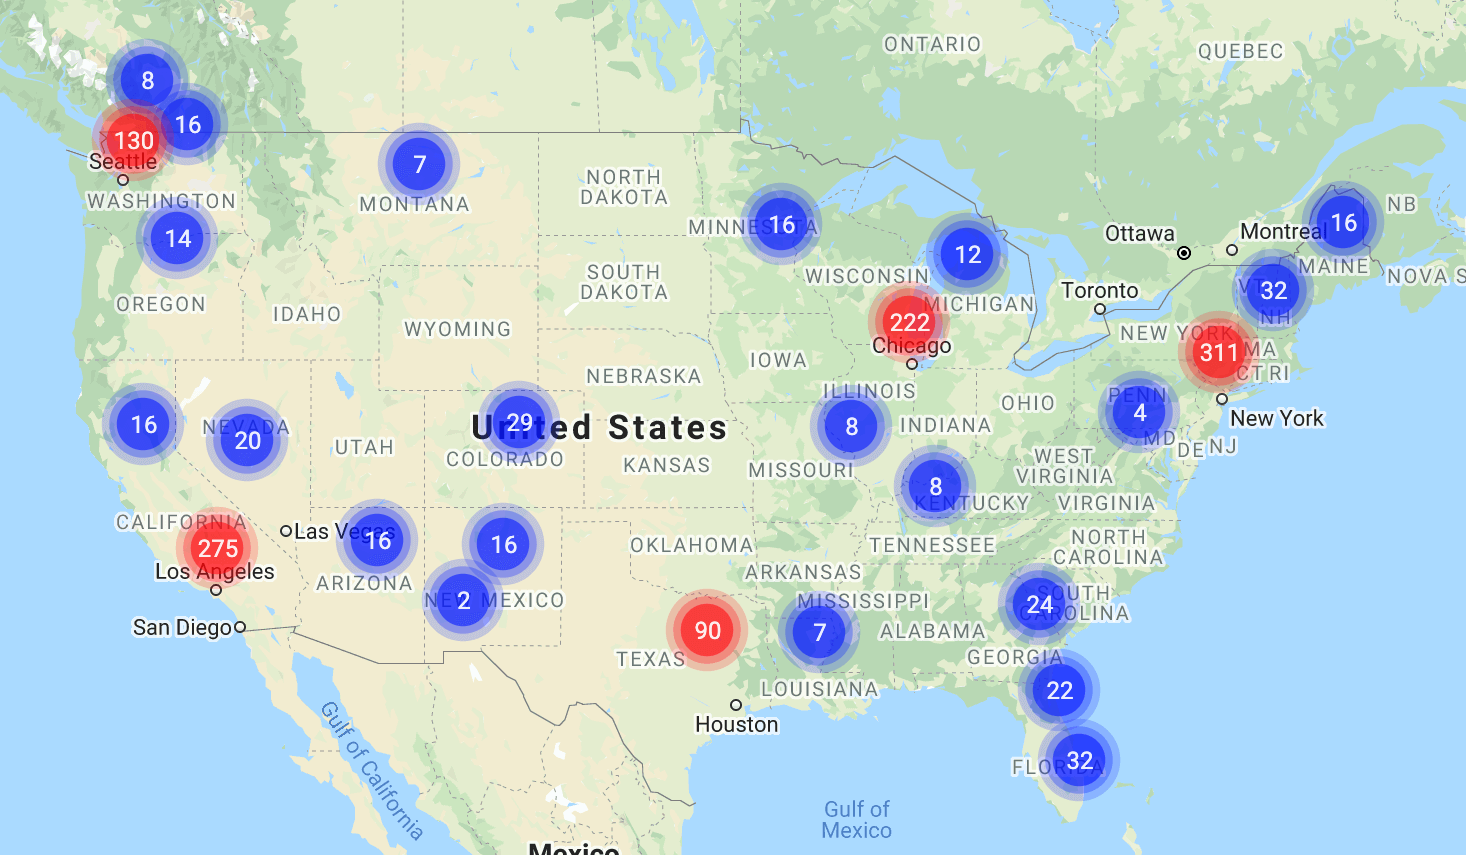
Marker clustering (opens new window) is a great way to place a lot of markers onto a single map without overcrowding the map viewing area. When creating a map, simply set the cluster option to one of the following values:
| Clustering Behavior | Value of cluster |
|---|---|
| Off | false (default) |
| Default | true |
| Custom | Array of Marker Clusterer Options |
# Basic Clustering
To enable the default clustering behavior, simply set cluster to true when creating a map.
const options = {
    'cluster': true
};
This produces a standard set of marker clusters, as demonstrated in the screenshot above.
# Advanced Clustering
If you need a more customized look or behavior, you can use an array of marker clusterer options. This gives you additional control over several things, including the clustering algorithm, the cluster icon renderer, and/or the cluster click behavior.
# Marker Clusterer Options
For more information about these options see the official MarkerClustererOptions (opens new window) documentation.
| Option | Description | Default |
|---|---|---|
algorithm | Function to determine how markers are clustered. | SuperClusterAlgorithm (opens new window) |
renderer | Function to render each cluster as a marker. | DefaultRenderer (opens new window) |
onClusterClick | Callback function to handle individual cluster clicks. | defaultOnClusterClickHandler (opens new window) |
// Set a custom cluster rendering function
const options = {
    'cluster': {
        'renderer': CustomRenderer
    }
};
# Custom Clustering Icons
To see a complete example for using custom clustering icons, along with a handy downloadable JavaScript file, check out the guide for Setting Clustering Icons...
# Get the Marker Clustering Object
In JavaScript, you can get the marker clustering object of an existing map:
// Get the marker clustering object
const clusterer = map.getMarkerClusterer();
This provides you with a MarkerClusterer object (opens new window). What you choose to do with it is entirely up to you.